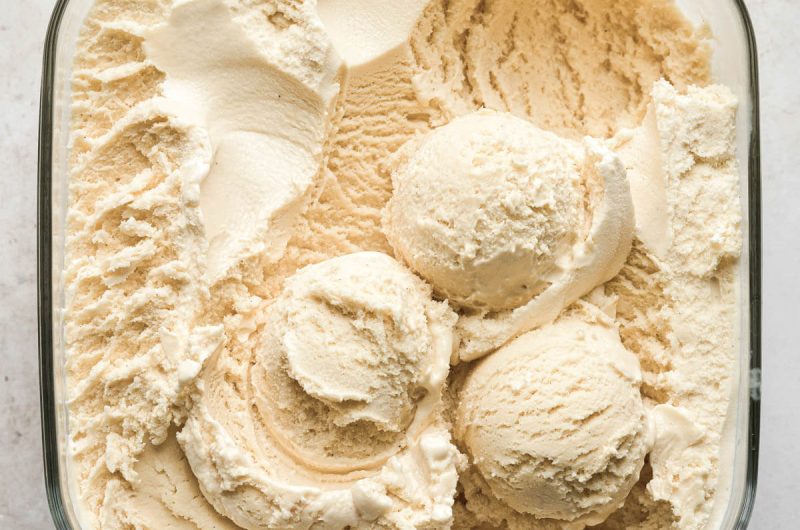

If you love ice cream but want a healthier twist, this creamy, protein-packed Homemade vanilla ice cream is the perfect treat. It’s sugar-free, dairy-free, keto-friendly, and high in protein, yet still rich, luscious, and incredibly easy to make. With just a few simple ingredients, this frozen dessert will become a go-to for your low-carb or carnivore lifestyle.
Unlike many store-bought ice creams filled with preservatives and artificial flavors, homemade vanilla ice cream lets you control every ingredient. The result is a dessert that’s fresher, creamier, and packed with real vanilla flavor.
Whether you own an ice cream maker or are making it by hand, this recipe produces incredibly smooth and delicious vanilla ice cream every time.
Why You’ll Love It
There are plenty of reasons to make this homemade vanilla ice cream again and again.
Easy to customize with your favorite flavors
Naturally sugar-free and keto-friendly
Dairy-free for those avoiding milk products
High in protein to help keep you satisfied
Made with only four simple ingredients
No cooking required
Light, fluffy, and creamy texture
Perfect for carnivore and low-carb lifestyles
Ready with just a few minutes of preparation
Ingredients
- 2 large eggs (140g, in shell)
- 20g allulose (keto-friendly sweetener)
- 1 tsp vanilla extract (plus seeds from ½ vanilla pod, optional)
- ½ tsp beef gelatin powder
Ingredient Notes
Eggs
Eggs are the foundation of this recipe. The yolks provide richness and a smooth mouthfeel, while the whipped egg whites create a light, airy texture that mimics traditional ice cream without needing cream or milk.
For the best results, use fresh, high-quality eggs.
Allulose
Allulose is one of the best sweeteners for homemade keto ice cream because it stays soft after freezing. Unlike some sugar substitutes, it doesn’t leave a cooling aftertaste and helps reduce the formation of ice crystals.
Vanilla Extract
A good-quality pure vanilla extract gives this ice cream its classic flavor. If available, scrape the seeds from half of a vanilla bean into the mixture for an even richer vanilla taste and beautiful flecks throughout the ice cream.
Beef Gelatin
Beef gelatin helps improve the texture by making the ice cream smoother and creamier. It also adds a little extra protein while helping the mixture hold together after freezing.
Equipment You’ll Need
- Two mixing bowls
- Electric hand mixer or stand mixer
- Silicone spatula
- Measuring spoons
- Freezer-safe container with lid
- Ice cream maker (optional)
How to Make High-Protein Vanilla Ice Cream
Step 1: Separate the Eggs
Crack the eggs carefully, placing the yolks into a small mixing bowl and the egg whites into a larger bowl.
Try not to let any yolk mix with the whites, as this can prevent them from whipping properly.
Step 2: Whip the Egg Yolks
Add the allulose, vanilla extract, vanilla bean seeds (if using), and beef gelatin powder to the egg yolks.
Using an electric mixer, beat the mixture for several minutes until it becomes pale in color, thick, and fluffy. This step incorporates air into the mixture and helps dissolve the sweetener for a smoother texture.
Step 3: Beat the Egg Whites
Using clean beaters, whip the egg whites until soft peaks form.
Soft peaks should gently curl over when the beaters are lifted. Avoid whipping to stiff peaks, as this can make folding more difficult.
The whipped whites are what give the finished ice cream its wonderfully light and creamy consistency.
Step 4: Fold Everything Together
Using a silicone spatula, gently fold the whipped yolk mixture into the egg whites.
Use slow, sweeping motions, working from the bottom of the bowl upward.
Take your time during this step. Overmixing can knock out the air you’ve worked to incorporate, resulting in a denser ice cream.
Step 5: Freeze
Transfer the finished mixture into a freezer-safe container.
Smooth the surface with a spatula before covering with a tight-fitting lid.
If you own an ice cream maker, you can churn the mixture according to the manufacturer’s directions before freezing. Churning incorporates additional air and creates an even creamier consistency.
Without an ice cream maker, simply place the container in the freezer.
Step 6: Freeze Until Firm
Allow the ice cream to freeze until it reaches your preferred consistency.
For a smoother texture without churning, stir the mixture every 30 minutes during the first two hours of freezing. This helps break up ice crystals and keeps the finished ice cream creamy.
Once fully frozen, scoop into bowls or cones and enjoy.
Pro Tips
- Add 50ml water to yolks for a sorbet-like texture.
- Stir mixture every 30 mins (first 2 hours) for smoother ice cream if not churning.
- Flavor upgrades: almond extract, cinnamon, or sugar-free chocolate chips.
Expert Tips for the Creamiest Ice Cream
- Use room-temperature eggs for easier whipping.
- Choose pure vanilla extract for the best flavor.
- Fold the mixtures gently to keep as much air as possible.
- Freeze the ice cream in a shallow container for faster freezing.
- If using an ice cream maker, chill the mixture before churning.
- Store the ice cream in an airtight container to prevent freezer burn.
- Let the ice cream sit at room temperature for 5–10 minutes before scooping if it becomes too firm.
Nutrition (per serving, serves 2)
- Calories: 95 kcal
- Protein: 10g
- Fat: 6.3g
- Carbs: 0g
Flavor Variations
Once you’ve mastered the basic recipe, try one of these delicious variations.
Cinnamon Vanilla
Add ½ teaspoon ground cinnamon to the yolk mixture.
Almond Vanilla
Replace half the vanilla extract with almond extract for a subtle nutty flavor.
Chocolate Chip
Fold sugar-free chocolate chips into the mixture before freezing.
Coffee
Mix in 1 teaspoon instant espresso powder for a delicious coffee-flavored dessert.
Pumpkin Spice
Add a pinch of pumpkin pie spice during mixing for a cozy seasonal version.
Serving Suggestions
This homemade vanilla ice cream is delicious on its own, but it also pairs wonderfully with:
- Fresh berries
- Sugar-free chocolate sauce
- Chopped roasted nuts
- Keto brownies
- Low-carb waffles
- Protein pancakes
- Warm keto cookies
- Unsweetened shredded coconut
FAQs
1. Can I replace allulose with another sweetener?
Yes! You can use erythritol or monk fruit, but allulose is best as it prevents ice crystals and keeps the ice cream smooth.
2. Do I need an ice cream maker?
No, but it does improve the texture. If you don’t have one, simply freeze the mixture in a container and stir every 30 minutes for the first 2 hours to reduce iciness.
3. How long does this ice cream last?
It stays fresh in the freezer for up to 2 weeks in an airtight container.
4. Can I add other flavors?
Absolutely! Try adding a few drops of almond extract or a sprinkle of cinnamon for a twist.
5. Is this ice cream safe for keto and carnivore diets?
Yes! It contains zero carbs and aligns perfectly with keto and carnivore eating plans.
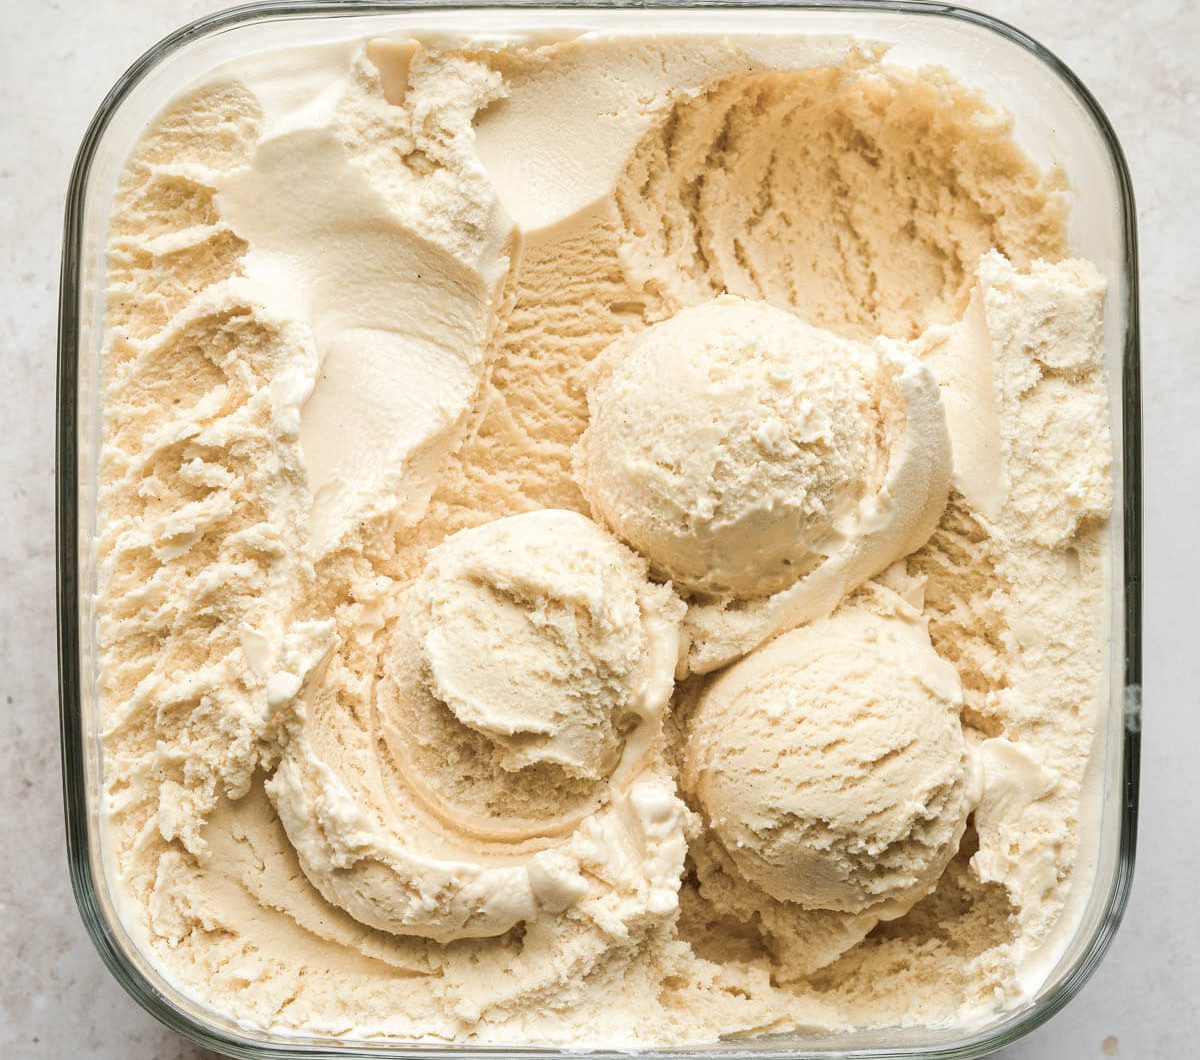
Homemade Vanilla Ice Cream
2
servings5
minutes4
Hour4-6
HourIngredients
2 large 2 eggs (140g, in shell)
20 g 20 allulose
1 teaspoon 1 vanilla extract
Seeds from ½ vanilla pod (optional)
½ teaspoon beef gelatin powder
Directions
- Separate the eggs, placing the yolks and whites into separate bowls.
- Beat the yolks with the allulose, vanilla extract, vanilla seeds, and gelatin until light and fluffy.
- Whip the egg whites until soft peaks form.
- Carefully fold the yolk mixture into the whipped egg whites.
- Transfer to a freezer-safe container.
- Freeze until firm, stirring every 30 minutes for the first 2 hours if not using an ice cream maker.
- Scoop and serve.
