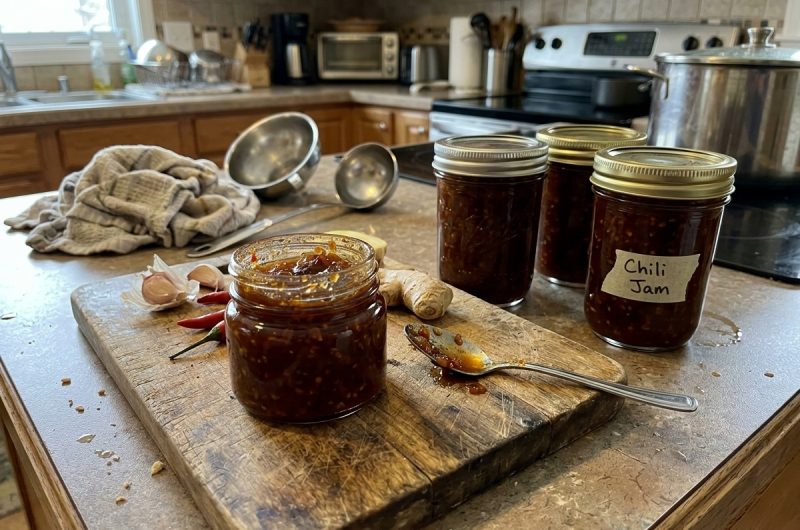

Caramel apple jam is a sweet, fruity preserve that combines the tart flavor of Granny Smith apples with the rich sweetness of brown sugar and white sugar. This homemade caramel apple jam recipe creates a delicious spread that is perfect for breakfast, snacks, and desserts.
Unlike traditional apple jam recipes that focus mainly on fresh fruit flavor, this version has a deeper, caramel-inspired taste thanks to the combination of brown sugar, butter, and clear butter flavoring. The result is a comforting homemade preserve that brings together the familiar flavors of apples and caramel in every spoonful.
Making apple jam at home is a wonderful way to enjoy the flavor of fresh apples in a different form. With simple ingredients and a straightforward cooking process, you can prepare a batch of sweet jam for your pantry or share it with friends and family.
This recipe takes approximately 30 minutes to prepare and another 30 minutes to cook, followed by additional cooling and resting time. The finished batch yields around eight half-pint jars, making it a useful option for preparing several portions at once.
Caramel apple jam is especially enjoyable during autumn, when apples are widely used in homemade desserts and seasonal recipes. However, its sweet flavor makes it suitable throughout the year. Spread it on toast, serve it with warm biscuits, or use it as a topping for pancakes and ice cream. Whether you enjoy it as a breakfast spread or a dessert topping, this homemade apple preserve adds a sweet and fruity touch to everyday meals.
What Makes Caramel Apple Jam Special?
The appeal of caramel apple jam comes from its balance of tart apples and sweet, caramel-like flavor. Granny Smith apples provide a slightly sharp taste that prevents the preserve from tasting one-dimensional. Brown sugar adds depth and warm sweetness, while white sugar contributes the familiar sweetness needed for the recipe. Together, these ingredients create a flavor that resembles caramel-coated apples without requiring a separate caramel sauce.
Another special feature is the texture. As the chopped apples cook, they soften and combine with the sugar mixture. Powdered fruit pectin helps the jam develop a spreadable consistency after cooling. The finished preserve is suitable for spreading on bread or spooning over other foods. Because the recipe uses chopped apples instead of apple juice alone, it also retains a fruity character that makes each serving taste distinctly apple-based.
This recipe is also practical for anyone who enjoys making homemade preserves. Preparing several half-pint jars allows you to divide the batch into convenient portions. You can keep properly processed and sealed jars for later use when the recipe and canning method have been verified as safe for shelf storage. Smaller jars are also convenient for sharing with family members or giving as seasonal food gifts.
Why Granny Smith Apples Are the Best Choice
Granny Smith apples are known for their firm texture and tart flavor, making them an excellent choice for sweet apple preserves. Their natural sharpness balances the sweetness of the brown sugar and white sugar, allowing the apple flavor to remain noticeable. Without this balance, a very sweet jam could lose some of the fresh fruit character that makes homemade apple preserves enjoyable.
For the best results, select fresh, firm apples without mold, deep bruises, or damaged areas. Wash the apples thoroughly before peeling them, removing the cores, and chopping the flesh. The recipe requires eight cups of prepared apples, so measure the fruit after removing the skins and cores. Cutting the apples into relatively even pieces helps them soften at a similar rate during cooking.
The original recipe specifically calls for Granny Smith apples, and keeping this variety helps preserve the intended flavor. Other apples may have different levels of sweetness, firmness, and moisture, which can affect the finished jam. If you want to follow the recipe as written, use the recommended variety and measure the prepared fruit carefully rather than estimating the quantity.
How to Prepare the Apples
Start by washing the Granny Smith apples under clean running water. Peel each apple, remove the core, and chop the remaining flesh into small pieces. Try to keep the pieces similar in size so they soften evenly. Very large pieces may need more cooking time, while much smaller pieces can break down quickly. Measure eight cups of chopped apples before beginning the cooking process.
Place the prepared apples in a large pot with the water and butter. Before cooking, measure the sugars, powdered fruit pectin, and clear butter flavoring separately. Keeping everything ready helps prevent delays once the apples become soft. It also makes it easier to follow the recipe accurately without needing to measure ingredients while handling a hot mixture.
Preparing the apples properly helps create a consistent result. Removing the peel and core gives the preserve a more pleasant texture, while evenly chopped fruit cooks more predictably. Taking time to organize the ingredients and equipment at this stage can make the rest of the recipe smoother, especially when preparing multiple jars for canning.
Preparing the Canning Jars
Clean jars and suitable canning equipment are essential when making homemade preserves. Wash the jars, lids, and rings according to the manufacturer’s instructions. Inspect the jars carefully for chips, cracks, or other damage, and do not use any damaged containers. Keep the jars hot before filling them so that the hot jam does not cause a sudden temperature change that could break the glass.
The original recipe instructs you to sterilize the jars and lids in boiling water for at least five minutes. Follow current, reliable home-canning guidance and the lid manufacturer’s instructions for preparing your particular equipment. Some lid types have specific handling requirements, so avoid assuming that all lids should be prepared in exactly the same way. A jar lifter and suitable canning rack are useful tools for handling hot jars safely.
Prepare a large stockpot with a rack at the bottom before you begin cooking the jam. The rack prevents the jars from sitting directly on the base of the pot and helps reduce the risk of breakage during processing. Make sure the pot is deep enough to hold the jars upright with water covering their tops by at least one inch. Having everything ready in advance makes it easier to transfer the hot jam into the jars without unnecessary delays.
Cooking the Apples for Jam
Place the eight cups of chopped Granny Smith apples in a large pot with the water and butter. Bring the mixture to a boil, then reduce the heat to low. Cover the pot and simmer the apples for approximately eight minutes, or until they have softened. Check them as they cook and stir gently if needed to prevent sticking. The goal is to soften the fruit so it can combine evenly with the sugar and pectin.
Once the apples are soft, add the brown sugar, white sugar, powdered fruit pectin, and clear butter flavoring. Stir until the ingredients are distributed throughout the mixture. The sugars will begin dissolving as the mixture heats, while the pectin helps prepare the jam to set. Use a large pot with enough room for bubbling because sugary mixtures can rise quickly when they reach a vigorous boil.
Bring the mixture to a full rolling boil, stirring frequently while it heats. A rolling boil continues vigorously even when you stir it. Once the mixture reaches this stage, the original recipe directs you to cook it for two minutes without stirring. Watch the pot closely and use care around the hot steam. Hot sugar mixtures can cause serious burns, so avoid leaning over the pot or allowing children near the cooking area.
How the Jam Develops Its Texture
The consistency of caramel apple jam changes as it cools. When the mixture is freshly cooked, it may appear thinner than the finished preserve. Powdered fruit pectin works with the other ingredients to help the jam set, so it is important to allow enough cooling and resting time before deciding whether the texture is correct.
Accurate measurements are one of the most important parts of making a pectin-based jam. Changing the amount of sugar, apples, or pectin can affect the final result. Follow the specified quantities and avoid extending the boiling time unnecessarily. Overcooking may affect the flavor and texture, while changing the cooking process can make the finished jam less predictable.
The recipe includes an eight-hour resting period after processing. This allows the jam to cool fully and develop its texture before you use it. Do not judge the final consistency while the jam is still hot. Once the jars have cooled and rested, the preserve should be easier to evaluate and serve.
Filling the Jars Correctly
After the jam has finished cooking, carefully transfer it into the prepared hot jars. Fill each jar while leaving approximately one-quarter inch of space at the top. This gap is called headspace, and it provides room for expansion during processing. Try to keep the fill level consistent across all the jars to support a uniform canning process.
Remove trapped air bubbles by carefully moving a suitable clean utensil around the inside of each jar. Air pockets can change the headspace and affect the quality of the seal. If necessary, adjust the amount of jam to restore the correct fill level. Wipe each jar rim with a clean, damp paper towel to remove any jam residue that could prevent the lid from sealing correctly.
Place the lids on the jars and secure the rings according to the manufacturer’s instructions. Avoid forcing the rings too tightly. Handle the jars carefully because both the glass and the jam will be very hot. Once the jars are filled and closed, proceed to the water-bath processing stage using the appropriate tested instructions for the recipe.
Water-Bath Processing
Place a canning rack in the bottom of a large stockpot and fill the pot approximately halfway with water. Bring the water to a boil, then carefully lower the jars into the pot using a jar lifter. Leave space between the jars so water can circulate around them. Add more boiling water if needed to ensure the water covers the tops of the jars by at least one inch.
Bring the water back to a rolling boil, cover the pot, and process the jars for the 15 minutes specified in the original recipe. Processing times depend on the recipe, jar size, altitude, and canning method. Before storing the finished jam at room temperature, verify that the recipe and its processing instructions are supported by current, tested home-canning guidance. A sealed lid alone does not guarantee that a preserve is safe for pantry storage.
Keep the water boiling during the processing period and monitor the pot to ensure the jars remain covered. Once processing is complete, remove the jars carefully and keep them upright. Use a jar lifter to protect your hands and reduce the risk of dropping hot glass. Place the jars on a stable, heat-resistant surface where they can cool without being disturbed.
Cooling and Checking the Jars
Set the processed jars on a cloth-covered or wooden surface, leaving several inches between them. Allow them to cool naturally without moving them unnecessarily. Do not tighten the rings or press the lids while the jars are cooling. You may hear popping sounds as the lids seal, but the absence of a popping sound does not automatically mean a jar has failed.
Once the jars are completely cool, check the seals according to the manufacturer’s instructions for the lids you are using. The original recipe suggests pressing the center of each lid to ensure it does not move up and down. Follow current tested canning guidance for the particular lid type, and do not rely on appearance alone to determine whether the contents are safe for long-term storage.
Let the jam stand for eight hours to overnight before using it. This resting time gives the preserve a chance to finish developing its texture. When the jars are cool and dry, label them with the recipe name and preparation date. Clear labels help you keep track of your homemade preserves and use older batches first.
Frequently Asked Questions About Caramel Apple Jam
Can I use a different type of apple?
Granny Smith apples are recommended because their tart flavor balances the sweetness of the sugars. Other varieties may produce a sweeter or softer preserve, depending on their natural characteristics. For the most predictable result, use Granny Smith apples and the quantity specified in the recipe.
Why does the jam look thin when it is hot?
Hot jam often appears thinner than it will after cooling. The pectin helps the mixture set as it cools, so allow the jars to rest for eight hours to overnight before evaluating the consistency. If the jam remains too thin, consult a tested jam-making guide before attempting to correct it.
Can I reduce the sugar?
Do not reduce the sugar without using a tested recipe specifically designed for a lower-sugar preserve. Sugar affects both the taste and the performance of many traditional pectin-based jams. Changing the quantity may alter the texture and canning characteristics of the finished product.
What should I do if a jar does not seal?
A jar that fails to seal should not be stored in the pantry as shelf-stable. Refrigerate it promptly and use it within an appropriate period, or follow tested canning guidance for reprocessing if permitted. Check the jar for damage and follow the lid manufacturer’s instructions.
Can I prepare caramel apple jam ahead of time?
Yes, this recipe produces several jars in one batch, making it convenient for preparing ahead of breakfasts, gatherings, or gifts. Allow the jam to cool and rest before using it. Verify the recipe’s canning safety before pantry storage, and refrigerate jars after opening.
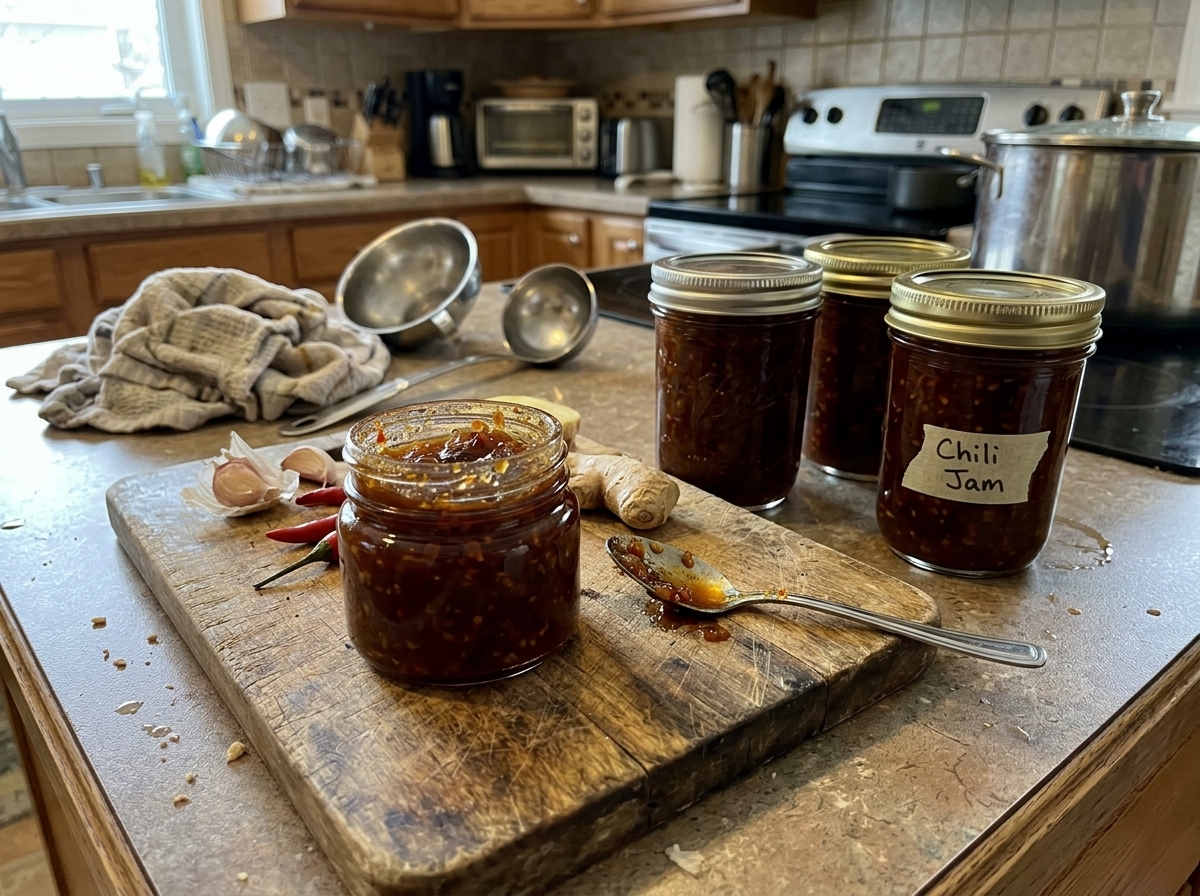
Caramel Apple Jam Dessert
Homemade caramel apple jam made with tart Granny Smith apples, brown sugar, white sugar, and butter flavoring.
48
servings30
minutes30
minutes78
kcal480
9
hoursIngredients
8 (½-pint) canning jars with lids and rings
8 cups Granny Smith apples, peeled, cored, and chopped
⅓ cup water
1 tablespoon butter
3 cups brown sugar
2 cups white sugar
1½ (1.75-ounce) packages powdered fruit pectin
1 tablespoon clear butter flavoring, such as Wilton
Directions
- Prepare the jars
Sterilize the jars and lids in boiling water for at least five minutes, following current canning guidance and the lid manufacturer’s instructions. Keep the jars hot until ready to fill. - Cook the apples
Add the chopped apples, water, and butter to a large pot. Bring to a boil, reduce the heat to low, cover, and simmer for about eight minutes, or until the apples soften. - Add the sugar and pectin
Stir in the brown sugar, white sugar, powdered fruit pectin, and clear butter flavoring until evenly combined. - Boil the jam
Bring the mixture to a full rolling boil, stirring frequently. Once it reaches a full rolling boil, cook for two minutes without stirring, as directed in the original recipe. - Fill the jars
Carefully ladle the hot jam into the prepared jars, leaving ¼ inch of headspace. Remove air bubbles with a suitable utensil and wipe the jar rims with a clean, damp paper towel. Fit the lids and rings according to the manufacturer’s instructions. - Process the jars
Place a canning rack in a large stockpot and bring the water to a boil. Lower the jars into the pot, leaving space between them. Ensure the water covers the jar tops by at least one inch. Cover and process at a rolling boil for 15 minutes, provided this time is verified as appropriate for the tested recipe and your altitude. - Cool and check the seals
Remove the jars with a jar lifter and place them upright on a cloth-covered or wooden surface. Leave them undisturbed until completely cool. Check each seal according to the lid manufacturer’s instructions and allow the jam to stand for eight hours to overnight before use.
Nutrition Facts
- Calories: 78kcal
- Fat: 0g
- Carbohydrates: 20g
- Protein: 0g
