If you’re craving something rich, chocolatey, and completely irresistible—but don’t want to turn on the oven—these No-Bake Chocolate Peanut Butter Crunch Bars are exactly what you need. This easy dessert combines the timeless flavor duo of chocolate and peanut butter in a perfectly balanced treat that’s both crunchy and creamy.
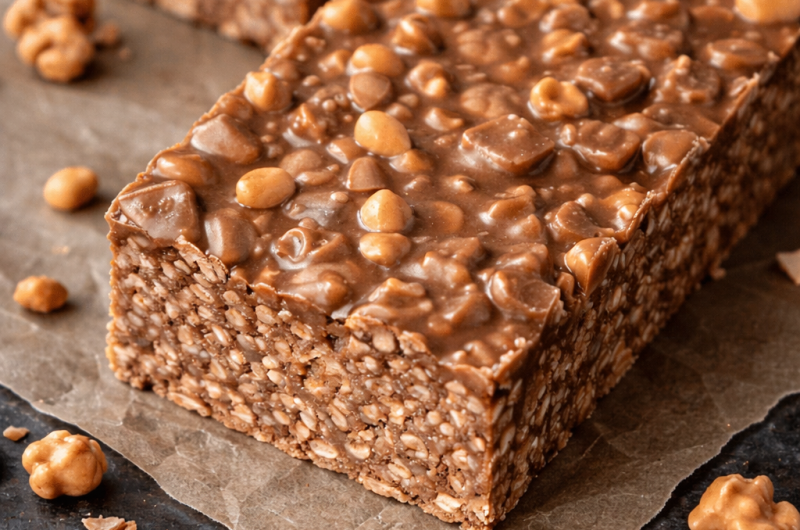
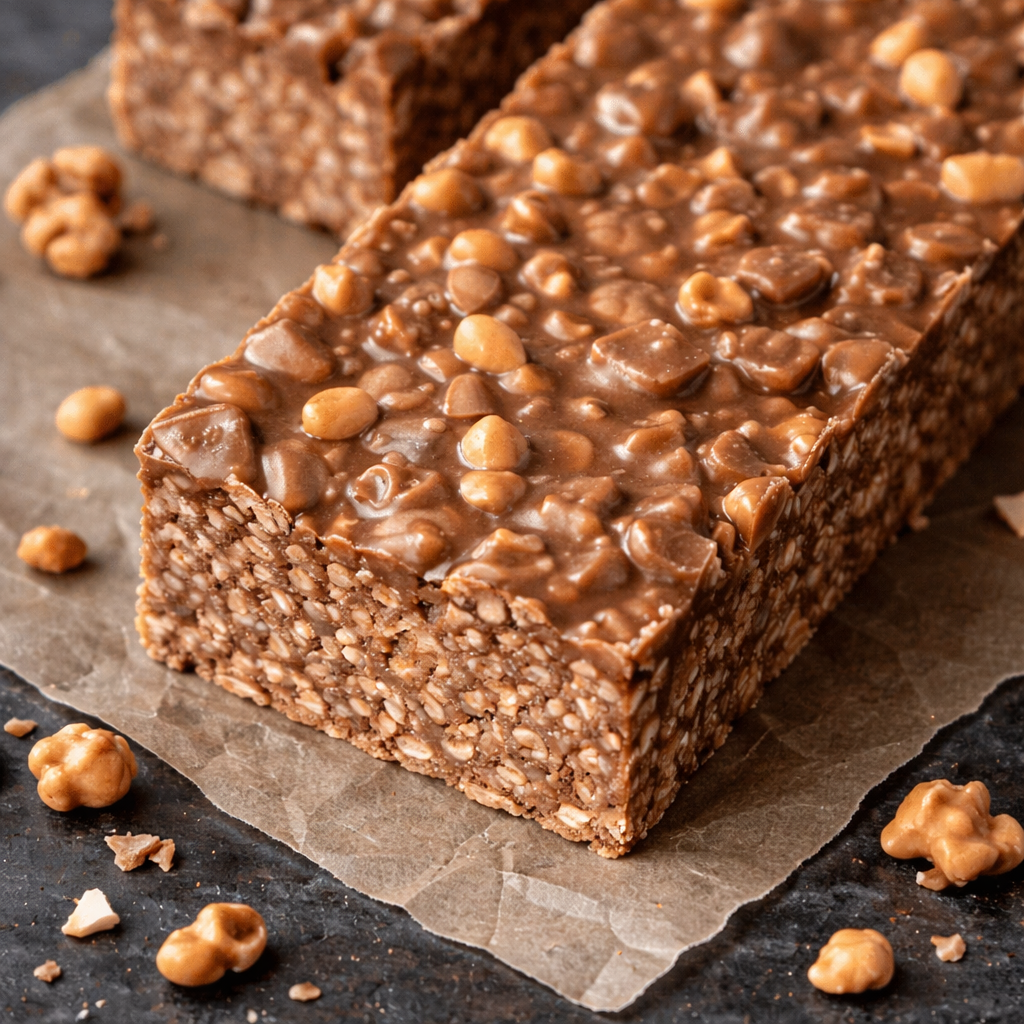
Chocolate and peanut butter create a magical harmony of flavors in every bite. The deep, smooth richness of melted chocolate blends beautifully with the nutty, slightly salty creaminess of peanut butter. When combined with crispy rice cereal, the texture becomes absolutely addictive—light, crunchy, and coated in a silky chocolate mixture that sets into firm, sliceable bars after chilling.
One of the best things about this recipe is how effortless it is. There’s no baking, no complicated steps, and no special equipment required. Everything comes together in one bowl, then gets pressed into a pan and chilled until perfectly set. It’s the kind of dessert you can make in minutes, yet it tastes like something far more indulgent.
The sweetness from pure maple syrup adds depth and warmth, while coconut oil helps create a smooth, glossy finish that firms up beautifully in the refrigerator. Every layer works together to deliver a balanced flavor profile—sweet but not overwhelming, rich yet light enough to keep you reaching for another piece.
These bars are perfect for:
- After-dinner desserts
- Afternoon snack cravings
- Lunchbox treats
- Party platters and potlucks
- Make-ahead freezer desserts
Each bite delivers a satisfying crunch followed by creamy chocolate-peanut butter goodness that melts in your mouth. They’re simple, reliable, and always a crowd favorite.
If you love easy, no-fuss recipes made with pantry staples, this no-bake chocolate peanut butter crunch bar recipe will quickly become one of your go-to treats. Sometimes the best desserts are the ones that don’t require baking at all.
No-Bake Chocolate Peanut Butter Crunch Bar Adjustments
Crunchy Texture Upgrade
For an extra layer of flavor and crunch, lightly toast the crispy rice cereal in a dry skillet over medium heat for 2–3 minutes before mixing. This enhances its nutty aroma and keeps the bars wonderfully crisp.
Flavor Boosters
Sprinkle a pinch of flaky sea salt over the top before chilling to balance the sweetness. You can also fold in chopped peanuts for added texture and deeper peanut flavor.
Smart Storage Tips
Wrap individual bars in parchment paper or plastic wrap and store them in an airtight container in the refrigerator for up to one week. This keeps them fresh and prevents sticking.
Chocolate Variations
Switch things up by using dark, milk, or white chocolate chips. Each option creates a slightly different flavor profile, letting you customize the bars based on your preference or what you have on hand.
Healthier Twist Option
Swap maple syrup for honey, or use a sugar-free syrup alternative for a lower-sugar version that still delivers the same rich taste and satisfying crunch.
No-Bake Chocolate Peanut Butter Crunch Bars
Homemade no-bake chocolate peanut butter crunch bars are the ultimate quick and indulgent dessert. Crisp rice cereal is coated in a silky blend of melted chocolate and creamy peanut butter, creating rich layers that set into perfectly sliceable bars. With minimal effort and simple pantry ingredients, this recipe delivers maximum flavor in every irresistible bite.
15
minutes300
kcal60-90
Minutes1.2
hourIngredients
1 1 ½ cup (375 ml) chocolate chips
1 cup 1 (250 ml) peanut butter
3 cup 3 (750 ml) crispy rice cereal
½ cup (125 ml) maple syrup
¼ cup (60 ml) coconut oil
Directions
- Preparation Line an 8 × 8-inch baking dish with parchment paper, leaving extra over the sides to help lift the bars out easily once set.
- Chocolate Fusion: In a microwave-safe bowl, combine chocolate chips, peanut butter, maple syrup, and coconut oil. Microwave in 30-second intervals, stirring between each, until the mixture becomes smooth, glossy, and fully melted.
- Cereal Coating: Place the crispy rice cereal in a large mixing bowl. Pour the warm chocolate mixture over the cereal and gently stir until every piece is evenly coated.
- Setting Process: Transfer the mixture into the prepared baking dish. Use a spatula or the back of a spoon to press it down firmly and evenly, creating a smooth, level surface.
- Chilling Stage: Refrigerate for 60–90 minutes, or until the bars are fully set and firm to the touch.
- Serving Finale: Lift the bars out using the parchment paper. Place on a cutting board and slice into even squares or rectangles. Serve and enjoy.
Notes
- Prep Parchment Precisely: Properly lining the pan prevents sticking and ensures clean removal.
Melt Ingredients Mindfully: Heat gradually and stir often to avoid scorching the chocolate.
Coat Cereal Completely: Mix thoroughly so every bite has the perfect chocolate-to-crunch ratio.
Chill Confidently: Allow the full chilling time for the best texture—firm, sliceable, and perfectly set.
Storage
Store in an airtight container in the refrigerator for up to 7 days.
For longer storage, freeze for up to 3 months and thaw in the refrigerator before serving.
Frequently Asked Questions (FAQ)
1. Do these bars need to be refrigerated?
Yes. Because the chocolate mixture softens at room temperature, refrigeration helps the bars stay firm and maintain their perfect texture. Store them chilled until ready to serve.
2. Can I use natural peanut butter?
Absolutely. Natural peanut butter works well, but make sure it’s well stirred before using. If it’s too oily or too dry, the texture of the bars may slightly change.
3. Can I make these dairy-free?
Yes. Simply use dairy-free chocolate chips to make the recipe completely dairy-free.
4. Can I substitute the maple syrup?
Yes. You can replace maple syrup with honey or a sugar-free syrup alternative. Keep in mind that the flavor may slightly vary depending on the sweetener used.
5. Why are my bars too soft?
If the bars are too soft, they may need more chilling time. You can also add a few extra tablespoons of cereal to help firm up the mixture.
6. Can I freeze these bars?
Yes. Wrap them individually and store in a freezer-safe container for up to 3 months. Thaw in the refrigerator for about 15–20 minutes before serving.
7. How do I get clean slices?
Use a sharp knife and wipe it clean between cuts. For extra neat edges, chill the bars fully before slicing.
8. Can I double the recipe?
Definitely. Double the ingredients and use a 9×13-inch baking dish for a larger batch. Adjust chilling time slightly if needed.
Nutrition Facts
13 servings per container
Serving Size1
- Amount Per ServingCalories250
- % Daily Value *
- Total Fat
14g
18%
- Saturated Fat 6g 30%
- Cholesterol 0mg 0%
- Sodium 80mg 4%
- Total Carbohydrate
13g
5%
- Dietary Fiber 1g 4%
- Total Sugars 12g
- Protein 5g 10%
* The % Daily Value tells you how much a nutrient in a serving of food contributes to a daily diet. 2,000 calories a day is used for general nutrition advice.
